
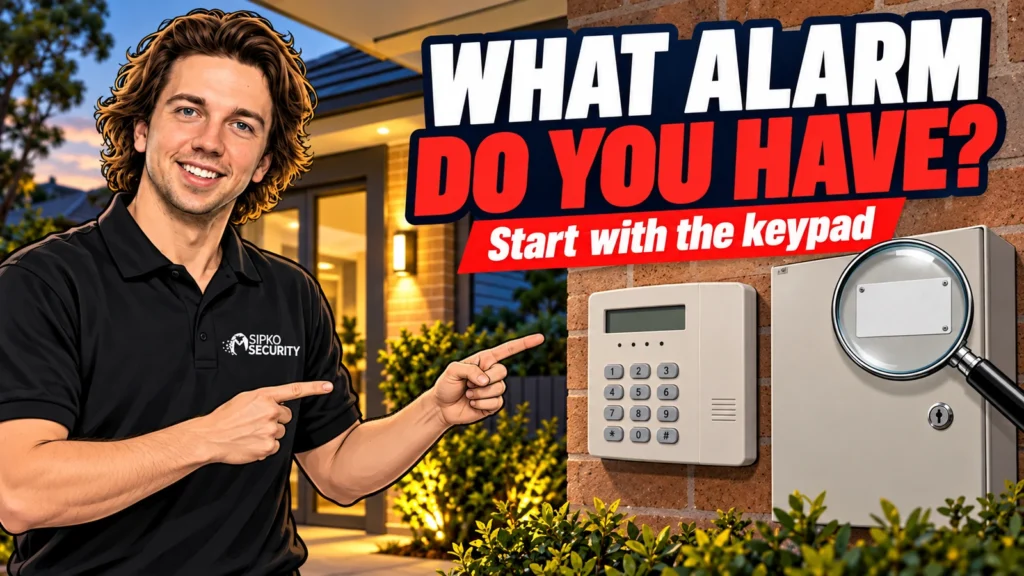
Quick answer
To find out what security alarm you have, photograph the keypad, read any brand and model name printed on it, then confirm the control panel from your paperwork or with an installer. The keypad is only a clue. It can be newer than the panel, or carry an installer name instead of the maker.
- Do it yourself, call us if stuck
- About 15 minutes
The short version
- Photograph the keypad and read any printed brand and model. It is a clue, not proof of the control panel.
- The keypad can be newer than the panel, or carry an installer name, so confirm the panel from paperwork or a technician.
- Never open the control box, try default codes or reset the system to find the model.
- Ask the installer to write the confirmed panel, keypad and communicator models on the next service record.
On this page
- The short version
- Clues, from weakest to strongest
- The keypad and the control panel are different parts
- Step 1: photograph the keypad
- Step 2: read the name and model
- Keypad families we often see
- Is it really an alarm keypad?
- Step 3: use your paperwork
- Step 4: the control panel, from the outside only
- What not to do
- A short note for the technician
- What the answer unlocks
- FAQ
- Sources and further reading
- Turn the clues into a confirmed answer
- Recommended Solutions for This Security Issue
This guide is for Melbourne homeowners who have inherited a system, need a service or want phone control. You can do everything here without opening equipment, trying codes or changing a setting. If you have just bought the house, read our guides on what to do with an inherited alarm and working out what came with the house for the next steps. This one is about naming the equipment.
Clues, from weakest to strongest
Not every clue is worth the same. Start with the weak ones, because they cost nothing, but do not stop there.
An installer needs the strong clues before buying parts or giving model-specific advice. A good photo of the keypad is the best way to get the conversation started.
The keypad and the control panel are different parts
The keypad is the part by the door or in the hallway. You use it to arm and disarm the alarm and to read its status. The control panel is the brain of the system. It usually sits in a metal or plastic box somewhere less obvious, such as a cupboard or under the stairs.
They are not always from the same era. A keypad may have been replaced while the panel stayed. An installer may have put their own sticker on a box. Some systems, such as wireless or app-based ones, have a hub rather than a classic panel. Write down what you can see and how you use it, and let the installer sort out the parts.
Step 1: photograph the keypad
- Take one straight-on photo with the whole keypad in frame and enough light to read it.
- Include the screen, the buttons and the outer shape.
- Take a second close-up of any logo or model wording.
- Avoid glare that turns the screen into a white patch.
Do not enter your alarm code for the photo. The normal idle screen is enough. If the screen shows room names or personal details, share the photo only with the technician you choose. Never post a code, or the order of your finger presses, in public.
Do not take the keypad off the wall or undo screws to look for a sticker on the back. That can expose wiring and trigger a tamper alarm. If the keypad has a hinged user flap, use it only as you normally would.
Step 2: read the name and model
Write down any wording exactly, including letters and numbers. Do not correct it because a search suggests a more familiar name. Look for a brand name, a model code on the face or edge, and any wording around the screen.
Be careful with names on stickers. A keypad or siren box can carry the name of the company that installed or monitored the system, not the maker. If the company has closed, the sticker still tells you who fitted it, but not what is inside. Photograph any separate maker marking you can see.
Keypad families we often see
These are examples from the makers’ own documents. They show how names, display styles and model codes look, so you can read your own keypad more easily. A similar look does not prove your system is the same, and each family has other models.
| Brand | What the maker lists | Source |
|---|---|---|
| Bosch Solution 2000 and 3000 | Three keypad styles: an LCD icon keypad (IUI-SOL-ICON), an LCD alphanumeric text keypad (IUI-SOL-TEXT) and 5 inch and 7 inch touchscreens. The 2000 supports up to 8 zones and the 3000 up to 16, with up to 4 keypads | Bosch brochure |
| Bosch Solution 6000 | A different platform. Its keypads include a 3.5 inch colour keypad, with or without a built-in smart card reader | Bosch brochure |
| DSC PowerSeries | DSC lists PowerSeries keypads by zones and display, for example the PK5500 (64-zone LCD with full text messages), a 64-zone LCD picture icon keypad, a 16-zone LED keypad and an 8-zone LED keypad. Some versions have a built-in wireless receiver | DSC PK5500, picture icon keypad, 8-zone LED |
| Paradox | Names such as K10V and K10H (10-zone wired LED), K32+ (32-zone wired LED), K35 (32-zone wired fixed LCD), K32LCD+ (32-character wired LCD) and K32LX (a wired LCD keypad with a built-in radio transceiver), plus TM50 (5 inch) and TM70 (7 inch) touch screens | Paradox Spectra range, TM50 and TM70 |
| Ness D8x and D16x | The KPX+ LCD keypad, the Saturn+ keypad with a glossy glass-look front and an LCD icon display, and the Navigator touch screen keypad with a 3.5 inch colour screen. Ness says the Navigator works with D8x and D16x panels version 7 and later | Ness KPX+, Navigator manual |
| Inner Range | Inner Range lists user interfaces such as the Inception 7 inch touchscreen (white or black), the PrismaX colour LCD keypad, the EliteX OLED keypad and the SIFER keypad card reader | Inner Range |
The same keypad name can suit more than one panel, so a screen style such as icon, text or touch does not tell you the panel model. Bosch’s brochure shows icon, text and touchscreen keypads all working with the same two panels.
Older systems have their own guides. If the name on your keypad matches one of these, start there: Ademco, EDM and Bosch Solution 4 and 8, Hills Reliance, DAS and Crow. For Bosch 6000 and Inner Range side by side, see Bosch Solution 6000 vs Inner Range Inception.
Is it really an alarm keypad?
A device with number buttons may run a gate, a door or an intercom, not the alarm. A speaker, a call button or a list of names points towards an entry system. Some touchscreens do more than one job.
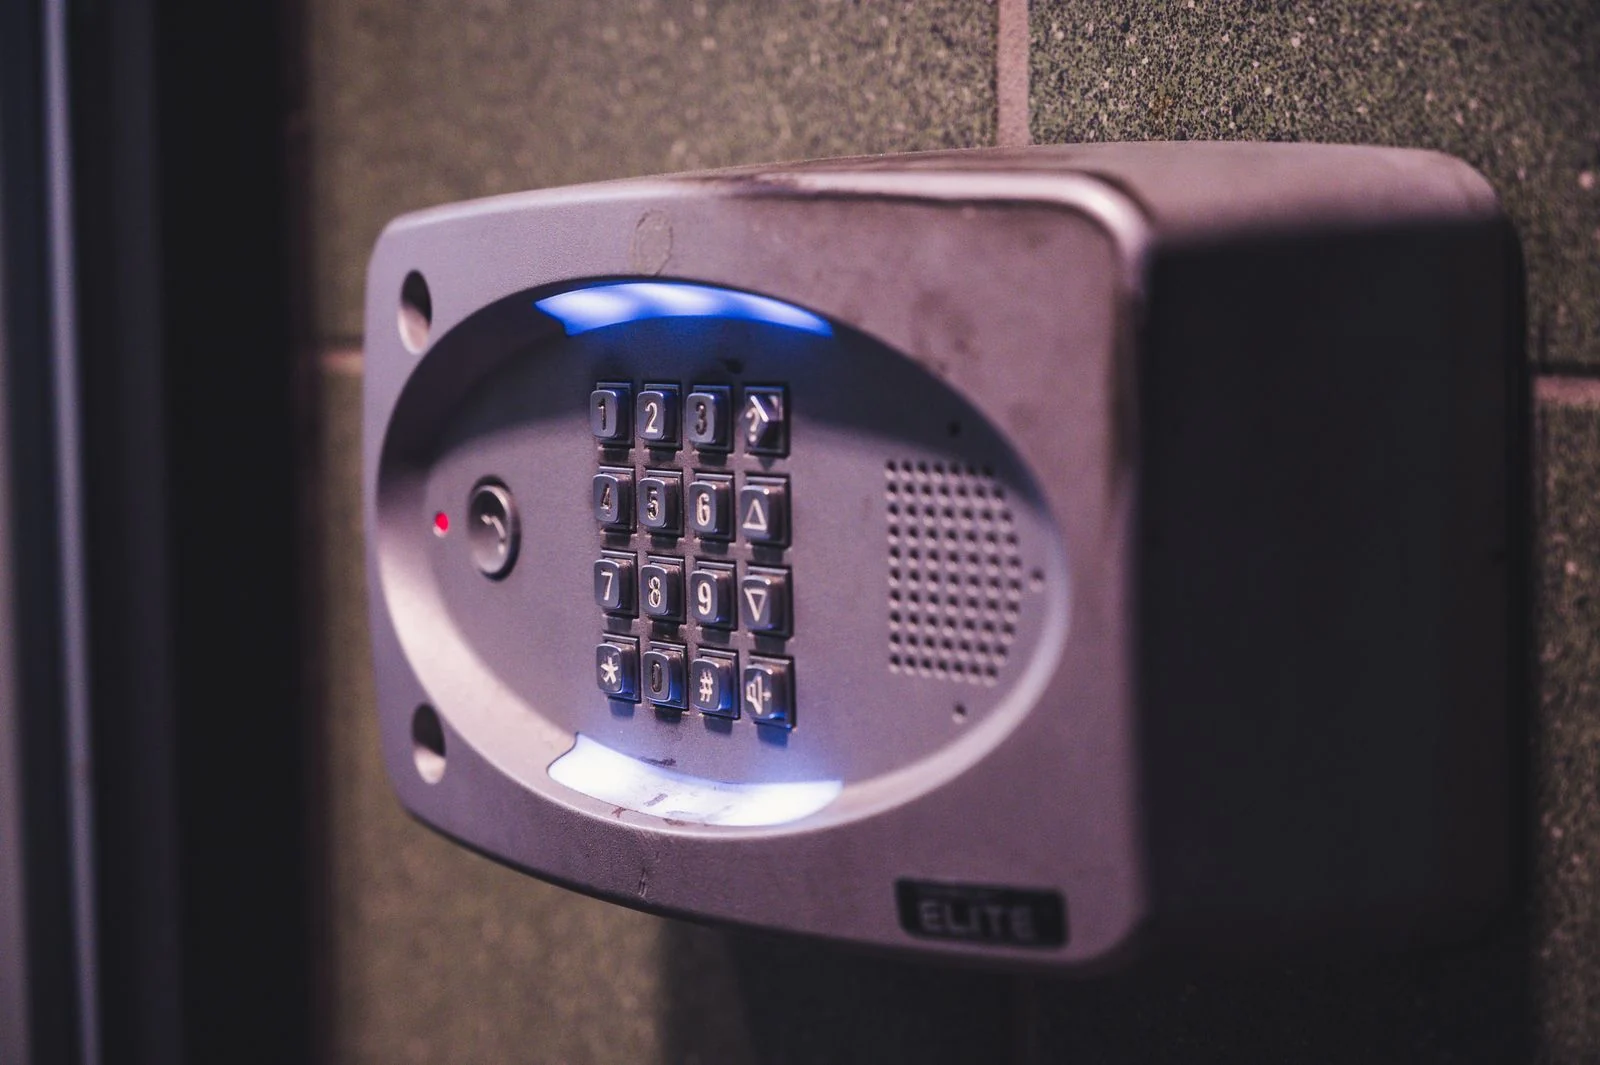
Describe what happens when you use it normally. Does it arm the house, open the driveway gate, answer a visitor or show camera pictures? If there are several devices, photograph each one and say what each does. In a townhouse or apartment, the building entry equipment may belong to someone else, so ask the property manager before arranging any change to it.
Step 3: use your paperwork
Look for the installation invoice, a handover folder, a recent service report or an equipment list from the previous owner. The most useful line names the control panel model, not just “alarm system”. A report that also names the keypad and the communicator saves another round of questions.

A manual can cover several related panels, so check the front page and the model range. A Bosch manual in a drawer does not prove every Bosch step fits the unit on your wall, especially if parts were replaced later. If you have a monitoring agreement, ask the provider what panel it has on record. A monitoring account number identifies the service, not necessarily the hardware.
Keep the evidence together: the model on an invoice, the date it was fitted and a recent photo. If two records disagree, tell the technician rather than picking the one you like. “The 2012 invoice says one panel, but a 2023 report lists another” is useful information.
Step 4: the control panel, from the outside only
If you know where the box is, photograph the closed outside from a safe position. Look for a clear model label or an installer sticker without moving the box. You do not need to climb into a roof space or reach across electrical equipment for a photo.
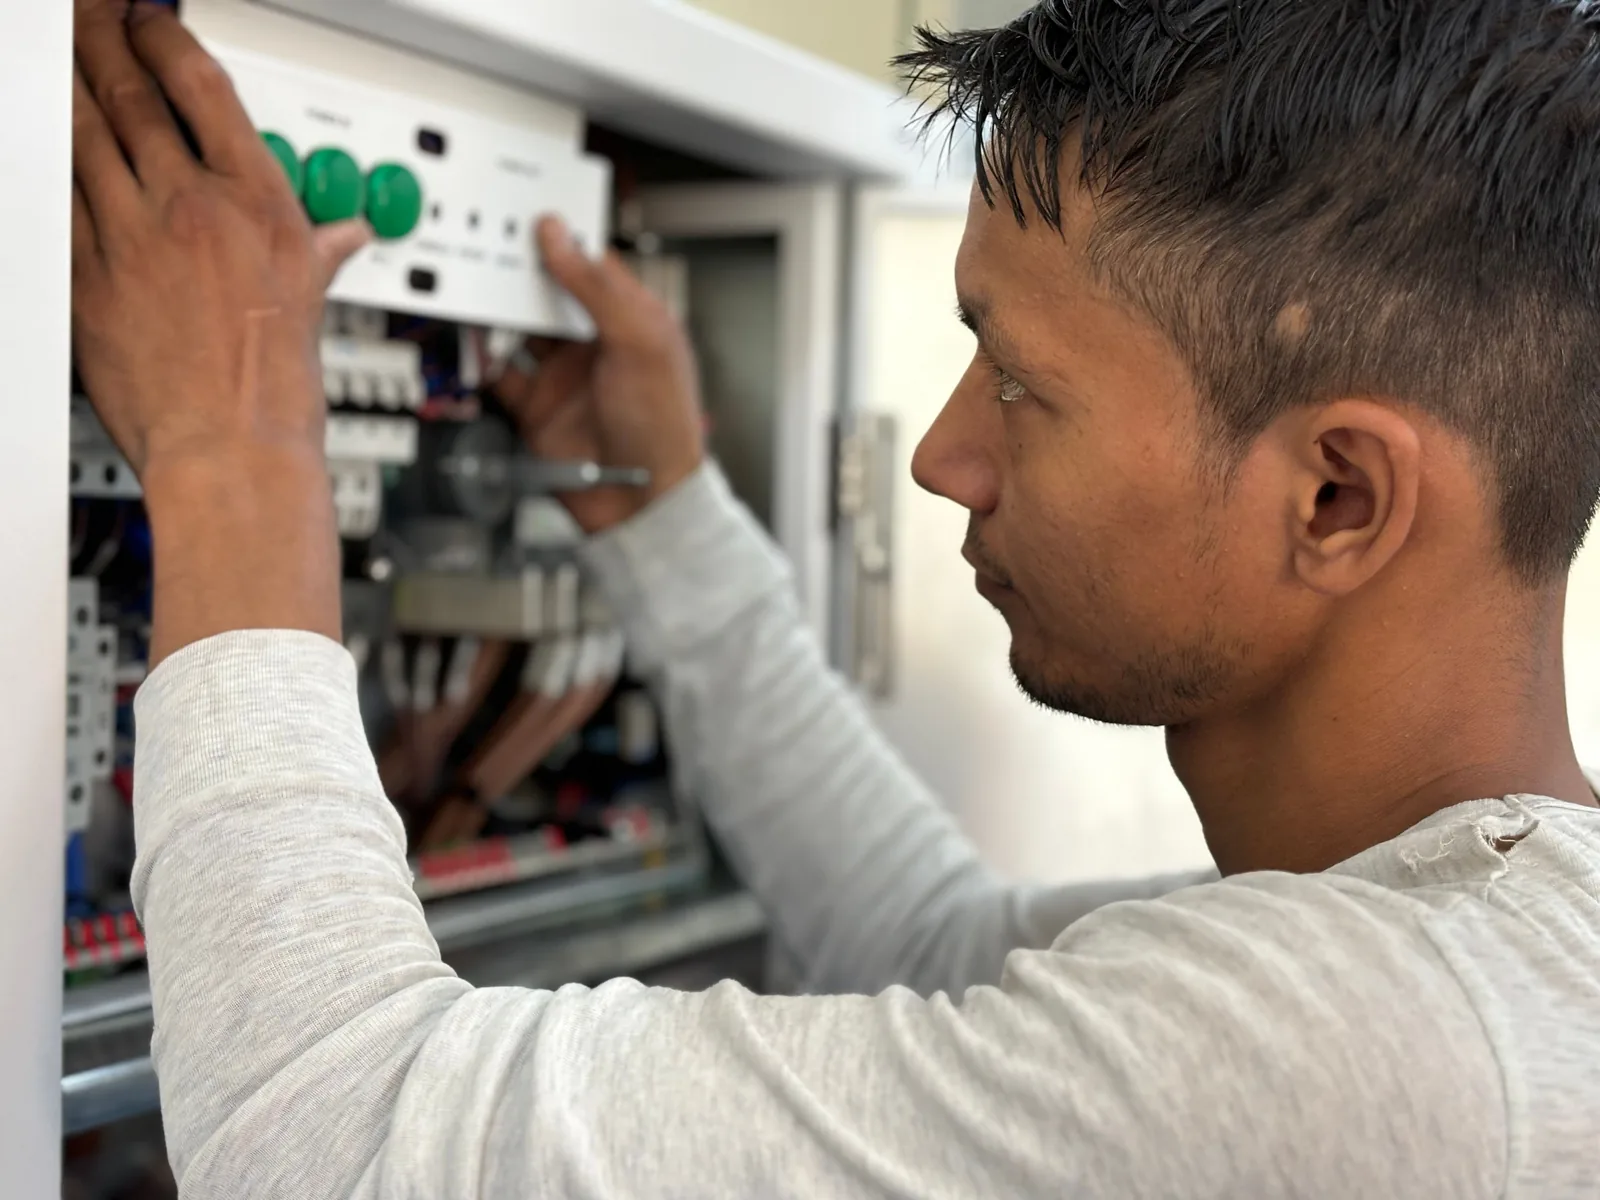
Do not open the control box or power supply to read the circuit board. It can hold a battery and live connections, and opening it can set off tamper reporting. A siren box on an outside wall is another part, not the main panel, and its company name usually shows who installed it. If nothing on the outside names the panel, that is a fine result. “Keypad photographed, box not safely reachable” gives an installer a clear starting point.
What not to do
A quick checklist
Do
- Photograph the keypad and any printed name.
- Collect invoices, manuals and service reports.
- Write down what you see, exactly.
- Ask the installer to record the confirmed models.
Don’t
- Try lists of default codes or installer menus.
- Factory reset to find out the model.
- Open the control box.
- Buy a keypad or battery from a photo match.
Default codes and resets are not a reliable way to identify anything. They can change a working setup, lock people out or trigger a response. If you have lost authorised access, use the proper ownership-checked recovery for that system.
A short note for the technician
Give the installer the problem as well as the equipment clues. Say whether the system works, whether a warning is showing and whether it is monitored. A beeping pattern or service light does not name the panel and does not prove a battery is flat, so describe what you see during normal use.
- One clear photo of the whole keypad.
- The exact brand and model wording.
- The closed control box, only if safely reachable.
- The installation invoice or latest service report.
- Roughly when it was installed or upgraded.
- The problem, and the job you want done.
- Whether a monitoring company is connected.
Send serial numbers, QR codes and account details directly to your chosen provider, not to an open forum. Afterwards, ask the technician to write the confirmed panel, keypad and communicator models on the service record, and keep it with the manual.
What the answer unlocks
Once the panel is confirmed, the installer can check which keypads, detectors and communicators fit it. A modern-looking keypad is not automatically a match for an older panel, so ask whether any quoted part works with your exact panel and whether it needs programming or a module.
Phone control needs its own check. MyAlarm’s requirements page shows how panel models, firmware and communication options are checked together, and it applies to MyAlarm only. Our guide on controlling an old alarm from your phone explains the options. If the real question is whether the system is worth keeping, read is your home alarm too old. For a clearer screen or easier daily use, see our alarm keypad information.
FAQ
Eight quick answers to the questions people ask most.
How do I find out what alarm system I have?
Photograph the keypad, read any printed brand and model, and look for an invoice, manual or service report that names the control panel. Then ask an installer to confirm the panel, because the keypad alone is only a clue.
Is the model on my keypad the model of my alarm?
Not necessarily. It may be the keypad model, not the control panel. Keep it as a clue and confirm the panel from records or a technician before you buy parts or follow model-specific steps.
Can an installer identify my alarm from a photo?
Often they can narrow it to a family and plan the visit. A photo may not show the panel revision, the software version or the communicator, so ask whether the answer is confirmed or still needs a check on site.
The keypad has an installer name on it. Is that the brand?
Not always. A sticker can show the company that installed or monitored the system. Look for a separate maker marking, and check your paperwork for the panel model.
Should I open the alarm box to read the label?
No. Use labels you can see from outside and your paperwork. Opening the box can expose live parts and trigger tamper reporting, so leave it to a qualified technician.
Can I identify my alarm by its buttons or lights?
They are clues, not proof. Different panels can share a similar keypad, and a replacement keypad can differ from the original system. Confirm before you act on a manual.
What if nothing on the outside names the panel?
That is fine. Tell the installer you photographed the keypad and could not safely reach the box. They can check on site and record the confirmed models for next time.
Does the keypad show who monitors my alarm?
No. A monitoring company may appear on a sticker, but only the monitoring agreement or the company itself can confirm who monitors it. Ask them what panel details they hold, and check those against the equipment.
Sources and further reading
- Bosch Security: Solution 2000 and 3000 brochure (keypad styles, zones, number of keypads)
- Bosch Security: Solution 6000-IP brochure (3.5 inch colour keypad)
- DSC: PowerSeries PK5500 keypad, 64-zone picture icon keypad and 8-zone LED keypad
- Paradox: Spectra SP control panels and TM50 and TM70 touch screen keypads
- Ness: KPX+ LCD keypad and Navigator touch screen manual
- Inner Range: user interfaces
- MyAlarm: requirements for iFob control
The keypad names above are examples taken from each maker’s own material and are not a complete list. A similar name or look does not prove your system is the same. The clue ladder and the safety advice are our own guidance from identifying systems on site. Last checked 15 October 2026 by Sergi Sipko, licensed security installer, Security Adviser and Equipment Installer Licence Z47-808-30S.
Turn the clues into a confirmed answer
Start with the keypad photo and your latest paperwork. If the model is still unclear, ask SIPKO’s security system maintenance service to inspect and record the installation. A confirmed equipment record makes the next repair, access question or upgrade decision much easier.

Update history
- 15 October 2026: Rewrote with a clue ladder diagram, a table of keypad families from Bosch, DSC, Paradox, Ness and Inner Range, links to our brand guides, more FAQ answers and sources.
- 5 October 2026: First published.
Did this fix it?
Good to hear. If we saved you a call, a short Google review helps other Melbourne homes find honest advice.
Leave a Google reviewLet us take a look. Tell us what you found and a licensed installer will help you find the cause.
Get a free quote or call 0406 432 691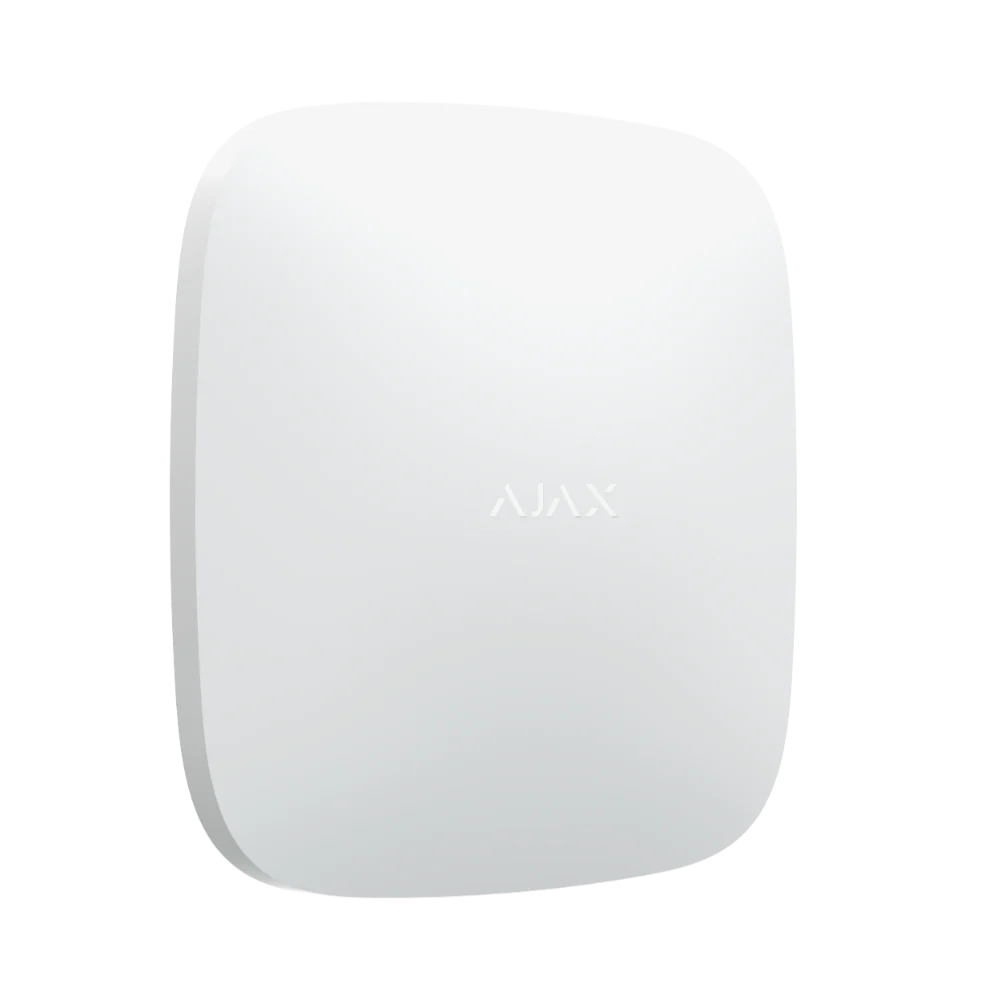 Featured Ajax product
AJAX Hub 2 Plus
The advanced security panel at the heart of an Ajax system. It connects up to 200 devices.
See the Ajax system →
Featured Ajax product
AJAX Hub 2 Plus
The advanced security panel at the heart of an Ajax system. It connects up to 200 devices.
See the Ajax system →
- Licensed and insured
- Licence Z47-808-30S
- Melbourne and Mornington Peninsula
- Free onsite quote
Google reviews
What Melbourne customers say




Local help from SIPKO
SIPKO Security
Get your free onsite quote
Tell us about your property. A licensed installer will get back to you with a clear, honest answer.
- Licensed and insured
- Melbourne and Mornington Peninsula
- Mon to Sat, 8am to 6pm
The quote form opens as you scroll here.