What’s Included in a CCTV Install
A strong CCTV setup starts with planning and continues through dependable monitoring, smooth remote viewing, practical storage, fast alerts, and real support when you need help. The goal is simple: clear visibility, reliable access on your phone, footage kept for the right period, and settings that work day to day without confusion.
What’s Included
- Camera positions, angles, and blind spots mapped before work begins
- Live monitoring configured for entrances, driveways, and key zones
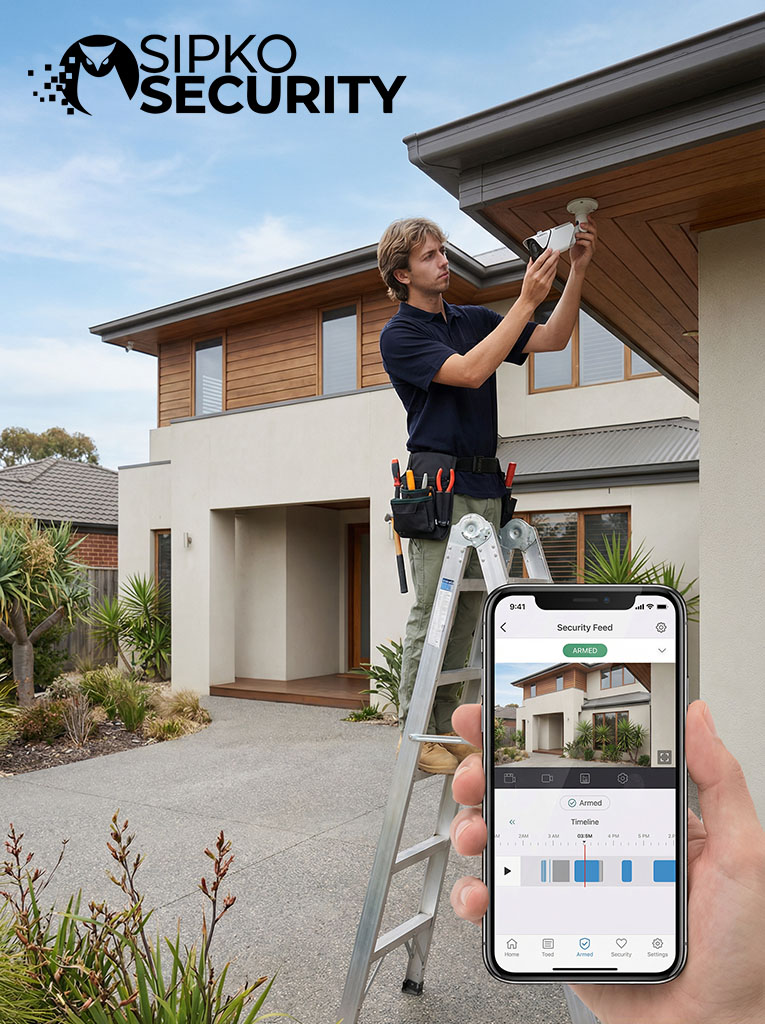
- Mobile app access and secure remote viewing set up for everyday use
- Recorder capacity and footage retention matched to your needs
- Alerts, user permissions, and practical support after setup
What Affects the Quote
- Monitoring goals and the areas you want visible in live view and playback
- Remote access needs including users, alert preferences, and app setup
- Storage expectations — retention length, recorder size, and event history
- Number of cameras, cable runs, and mounting locations
- Property type — residential, commercial, or strata
- Monitoring goals and the areas you want visible in live view and playback
- Remote access needs including users, alert preferences, and app setup
- Storage expectations such as retention length, recorder size, and event history
Schedule Your Service
Call 0406 432 691 or complete the form and we will contact you.
What’s Included in a Residential Install
A home install covers the entry points that matter most — front door, driveway, side access, and rear yard. Here’s what the process looks like and what gets configured before we leave.
Camera Placement & Coverage Planning
Entry points, driveways, and blind spots mapped before installation begins.
- Front door, driveway, side access, and rear yard coverage
- Camera positions chosen for angle, height, and lens type
- Blind spots identified and eliminated in the placement plan
Recording, Remote Access & Handover
What gets configured and handed over at the end of every residential install.
- NVR set up with retention matched to camera count and resolution
- App installed and remote access confirmed on your phone
- Alerts, playback, and export demonstrated before sign-off
What’s Included in a Commercial Install
Commercial installs cover more ground — entries, car parks, stock areas, and internal zones. The scope of what’s included depends on the site, but the process is the same: site assessment, placement plan, installation, and full handover.
What’s Included for Shops & Offices
Internal and external coverage for commercial premises — entries, counters, stock areas, and car parks.
- Camera positions covering transaction areas and entry/exit points
- NVR sized for camera count, resolution, and retention needs
- Remote access configured for owners and managers
What’s Included for Warehouses & Large Sites
Larger footprints need more cameras and longer cable runs — here’s what the install scope covers.
- Perimeter, loading dock, internal aisles, and entry gate coverage
- Wide-angle and varifocal lenses to reduce total camera count
- Multi-user access with permissions set per role
What’s Included for Strata & Apartments
Common area coverage for apartment blocks and strata properties — lobbies, car parks, lifts, and entries.
- Camera positions covering shared access and common areas
- Footage retention configured for the property’s needs
- Access set up for building managers and committee members
More Detail on What’s Included
These guides go deeper on specific parts of the install — camera placement, storage sizing, and what a CCTV system actually costs in Melbourne.
Camera Placement for Maximum Coverage
How to avoid blind spots and wasted cameras, with practical examples for homes and small businesses.
- Entry points vs. perimeters vs. internal cameras
- Typical heights, angles and lens choices
- Common mistakes that ruin image quality
How Many Days of CCTV Storage You Need
Understand what “14 days”, “30 days” or “90 days” of recording really means in practice.
- Impact of resolution, motion recording and camera count
- How to size NVR storage without overpaying
CCTV for Early Learning Centres
What a CCTV install covers for childcare and early learning centres in Melbourne.
- Coverage for entrances, play areas and sleep rooms
- Access control and retention configuration
- Remote access setup for management
What a CCTV System Really Costs in Melbourne
A realistic breakdown of CCTV budgets — from simple two-camera setups to full commercial systems.
- Equipment vs. labour vs. ongoing support
- How property type and cabling affect price
- Where you can save and where you should not
What a Residential Install Covers
Every residential install includes camera placement planning, clean cabling, recorder setup, remote access configuration, and a full handover before we leave.
Camera positions planned before any work begins
Night vision and low-light performance confirmed at placement
Remote app access set up and tested on your phone
Clean cabling with weatherproof external penetrations
NVR recorder sized and configured for your retention needs
Motion alerts configured and tuned per camera
Playback and export demonstrated at handover
Ongoing support for adjustments and future changes
How the Install Process Works
From the first site visit through to handover — here’s what happens at each stage and what’s included at every step.
Site Assessment & Placement Plan
We map key zones, confirm coverage goals, and plan camera positions, recorder location, and cable routes.
Cabling & Installation
Clean cable runs, secure mounting, weatherproof external points, and a tidy finish with minimal disruption.
NVR / Cloud + App Setup
Recording, retention and alerts configured, plus secure remote access on your phone and user permissions if needed.
Testing, Handover & Support
We test every camera and recording channel, show playback and export, and provide ongoing support when you need it.
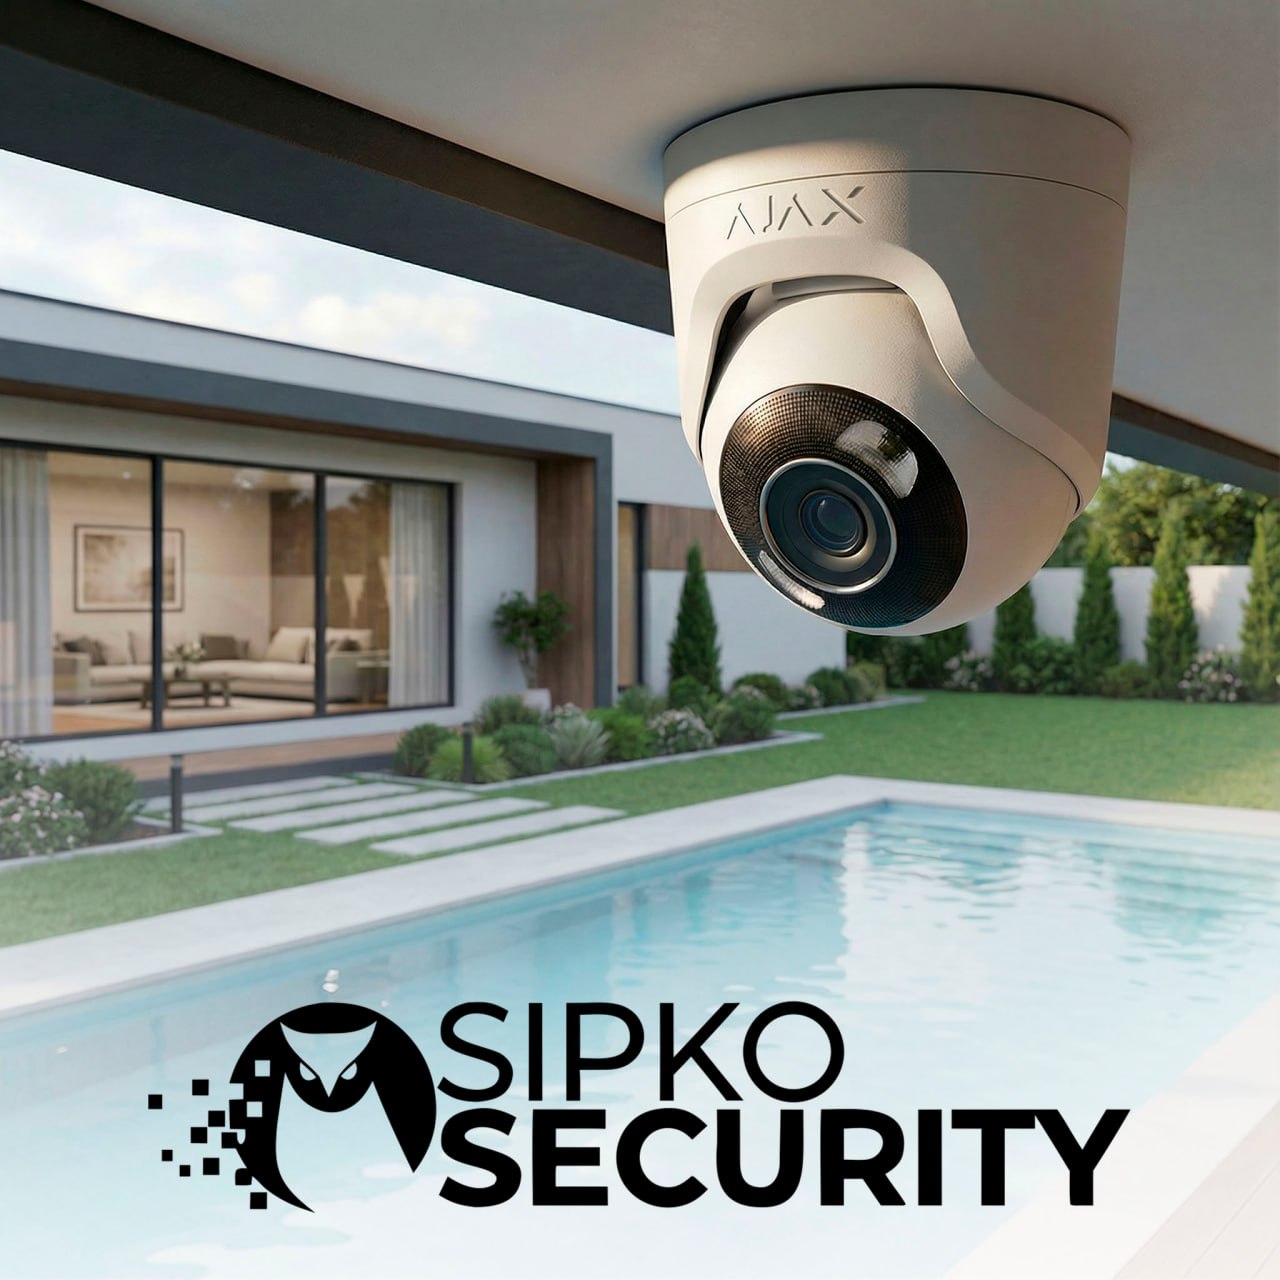
Camera Types Used in Your Install
The camera type included in your install is chosen based on the location — not a default. Each shape has a different purpose, and the right choice affects coverage, night performance, and how useful the footage is.
Turret
Use: entrances, eaves, general coverage.
Trade-off: less tamper-proof than dome in reach.
Bullet
Use: long views — driveways, side paths.
Trade-off: more visible; watch glare angles.
Dome
Use: indoor/public areas, tamper resistance.
Trade-off: reflections possible through glass.
PTZ
Use: large areas, live monitoring + zoom.
Trade-off: can’t watch all directions at once.
| Type | Where / Best For | Drawback |
|---|---|---|
| Turret | Entrances, eaves, mixed lighting; strong all-round detail. | Less protected in public-facing reach. |
| Bullet | Driveways/laneways; better distance and deterrence. | More noticeable; angle matters for glare. |
| Dome | Indoors, shops/lobbies/corridors; tamper-resistant look. | IR/glass reflections can reduce night clarity. |
| PTZ | Warehouses, yards, car parks; tracking + zoom. | Not continuous in all directions; pair with fixed cams. |
What You Get from the Install
Experienced Technicians
Professional on-site standards, clean work practices, and tidy installs.
Clean Cabling & Tidy Finish
Discreet routing, weatherproof penetrations, and neat terminations so your home looks good after the install.
Correct Recording Retention Setup
We size and configure storage so footage is kept for the right period, with sensible quality settings.
Practical Camera Placement
Coverage designed around entries, driveways, side access, and blind spots — not “random cameras everywhere”.
Handover & Support
App setup, user training, and clear guidance on playback/export so you can actually use the system when it matters.
Ongoing Support
Support for adjustments, upgrades, and ongoing maintenance after installation.
What the Site Assessment Actually Covers
The site assessment is where the real work starts. It is not a sales visit — it is a technical walkthrough that determines exactly where cameras go, how cable runs, and what the system needs to deliver useful footage.
Zone Mapping
Every entry point, driveway, side path, and blind spot is identified and marked against the property layout.
Coverage Goal Confirmation
We confirm what you need to see — identification at the front door, vehicle plates in the driveway, or wide coverage of a yard.
Camera Position Planning
Each camera position is chosen for angle, height, and lens type — not just convenience of mounting.
Cable Route Assessment
Roof cavity access, wall types, conduit requirements, and run lengths are all assessed before quoting.
Recorder & Storage Location
Where the NVR sits, how it connects to your network, and where remote access will be configured from.
- A placement plan showing camera positions and coverage zones
- Camera type recommendations matched to each location
- Cable route plan with estimated run lengths
- Recorder location and network connection point confirmed
- Storage sizing based on camera count, resolution, and retention needs
- An accurate, itemised quote — no surprises on install day
- Answers to any questions before you commit to anything
How Cabling Affects the Quote
Cabling is often the biggest variable in a CCTV quote. Camera count matters, but the cable runs — how far, through what, and how accessible — usually have more impact on time and cost than the cameras themselves.
Run Length
Longer cable runs from camera to recorder increase material and labour. A camera at the rear of a large property costs more to connect than one near the recorder location.
Roof Cavity Access
Properties with accessible roof cavities allow cleaner, faster runs. Concrete ceilings, double-brick walls, or slab construction require conduit or surface routing instead.
Wall & Ceiling Type
Plasterboard is straightforward. Brick, concrete, and tiled surfaces take longer to penetrate cleanly and may require additional materials to finish neatly.
External Penetrations
Every cable that passes through an external wall needs a weatherproof seal. The number of external cameras directly affects how many penetrations are required.
Conduit Requirements
Exposed cable runs in garages, sheds, or commercial areas often need conduit for protection and a tidy finish — adding material and installation time.
Existing Infrastructure
Properties with prior cabling may allow partial reuse, which can reduce cost. Older or incompatible cable usually needs to be replaced rather than reused.
NVR vs Cloud Recording — Which Suits Your Property
Most Melbourne properties use a local NVR. Cloud recording suits specific situations. Understanding the difference helps you choose the right setup before installation day.
Local NVR
On-site recorder — most common setup
No ongoing fees — storage is on-site, no monthly subscription required.
Higher resolution, longer retention — large drives support weeks of continuous recording.
Works without internet — recording continues even if your connection drops.
Remote access still available — app viewing works over your home or business network.
Physical device on-site — needs a secure, ventilated location and occasional drive health checks.
Cloud Recording
Off-site storage — specific use cases
Off-site footage — recordings survive even if the camera or recorder is tampered with.
No recorder hardware — useful for small setups or temporary installations.
Ongoing subscription cost — fees increase with camera count and retention length.
Internet-dependent — recording quality and reliability depend on upload speed.
Limited retention on lower tiers — short history windows unless you pay for extended plans.
What “HD” and “4K” Actually Mean for Footage Quality
Resolution affects how useful footage is as evidence — not just how sharp it looks on a monitor. Higher resolution means more detail per frame, but it also means larger files, more storage, and higher bandwidth. The right choice depends on what each camera needs to capture.
1080p
1920 × 1080 — Full HDReliable for general coverage. Faces and plates are readable at close to medium range. Storage-efficient and widely compatible with most recorders.
Best for: indoor areas, hallways, general monitoring4MP
2560 × 1440 — Quad HDA practical step up from 1080p. More detail without the storage demands of 4K. Good balance for entrances and driveways where plate or face ID matters.
Best for: front doors, driveways, side access8MP
3840 × 2160 — 4K UHDMaximum detail for wide scenes. Useful where you need to digitally zoom into footage after an incident. Requires more storage and a compatible NVR.
Best for: car parks, large yards, wide commercial areasVarifocal
Adjustable focal lengthResolution matters less if the lens angle is wrong. Varifocal cameras let you tune the field of view at install — useful for long driveways or specific identification zones.
Best for: long-range views, plate capture, tight zonesResolution alone doesn’t determine footage quality. Lens angle, IR range, placement height, and lighting conditions all affect whether footage is actually usable. A well-placed 4MP camera will outperform a poorly positioned 4K camera every time. Camera selection is confirmed during the site assessment. Compare brands: Hikvision vs Dahua for Australian homes.
Motion Detection vs. Continuous Recording
How your system records affects storage use, footage availability, and how easy it is to find what you need after an incident. Most installs use a combination rather than one mode across all cameras.
Continuous Recording
Records 24/7 regardless of activity. Nothing is missed, but storage fills faster. Best for high-priority zones — front door, driveway, entry points — where gaps in footage are not acceptable.
Motion-Triggered Recording
Records only when movement is detected. Extends storage life significantly and makes reviewing footage faster. Works well for lower-traffic areas like side paths, rear yards, or storage areas.
Schedule + Motion Hybrid
Continuous during business hours or active periods, motion-only overnight or when the property is empty. Balances storage efficiency with reliable coverage during the times that matter most.
Person / Vehicle Detection
Filters motion alerts to only trigger on people or vehicles — reducing false alerts from trees, shadows, and animals. Keeps notifications useful rather than constant.
Storage Impact by Mode
Relative storage consumption per camera — same resolution, same retention period.
Remote Access Setup — What Gets Configured at Handover
Remote access doesn’t configure itself. At handover we set up the app, connect the recorder to your network, confirm live view works on your phone, and walk you through playback and export — so the system is actually usable from day one.
Recorder Network Connection
The NVR is connected to your router and assigned a stable address. Port forwarding or P2P cloud relay is configured depending on your network setup.
App Installation & Login
The manufacturer app is installed on your phone and linked to the recorder. We confirm live view loads correctly on your device before leaving.
User Accounts & Permissions
Admin and standard user accounts are created. If multiple people need access — family members, staff, managers — each gets their own login with appropriate permissions.
Alert Configuration
Push notifications are set up for motion or person detection events. Alert sensitivity is tuned per camera to reduce false triggers from trees, shadows, or passing traffic.
Playback & Export Walkthrough
We show you how to find and review recorded footage, how to export a clip, and how to navigate the timeline — so you’re not guessing when you actually need it.
Password & Security Settings
Default credentials are changed, admin passwords are set, and remote access is secured before handover is complete.
What You Leave Handover With
- Live view working on your phone
- App installed and logged in
- Alerts configured and tested
- Playback and export demonstrated
- User accounts set up for everyone who needs access
- Admin credentials documented and secured
What We Need from You
- Wi-Fi password or network access at the recorder location
- Phone present at handover for app setup
- Names and contact details for any additional users
- Preferred alert sensitivity — active site vs. quiet residential
How Many Cameras Do You Actually Need?
Camera count is driven by coverage goals, not a fixed number. The right answer depends on property size, layout, entry points, and what you need each camera to capture — not a package tier.
Small Home
Townhouse / unitFront entry and driveway are the priority. Rear yard or side gate added where access is a concern.
Larger Home
House with yardMultiple entry points and blind spots around the perimeter typically require more coverage positions.
Small Business
Shop / officeInternal coverage of transaction areas and stock, plus external entry and car park where applicable.
Warehouse / Site
Large commercialLarger footprint requires more cameras to eliminate blind spots. Wide-angle and varifocal lenses reduce total count where possible.
More cameras isn’t always better
A well-placed 4-camera system with correct angles and lens choices will outperform a poorly planned 12-camera setup. The goal is eliminating blind spots at the right locations — not maximising camera count.
The site assessment determines the real number
Camera count is confirmed during the site walkthrough — not estimated from a floor plan. Layout, wall types, lighting, and coverage goals all affect the final placement plan. Also see: PTZ vs fixed cameras for commercial properties.
What to Ask Any CCTV Installer Before You Book
A few direct questions before you commit will tell you a lot about how an installer works — and whether the quote you received reflects the actual job. Also worth reading: the #1 mistake people make when choosing a CCTV installer.
Are you experienced with security system installations?
Ask how long they’ve been installing CCTV, what brands they work with, and whether they can show examples of past work.
Will you do a site assessment before quoting?
A quote without a site visit is an estimate. Camera positions, cable routes, and wall types can’t be confirmed from a phone call.
What brand and model cameras are you quoting?
Generic or unbranded cameras are harder to support, update, and replace. Ask for the specific model so you can research it.
Is cabling included in the quote?
Some quotes list cameras and labour but exclude cable, conduit, or penetration work. Confirm what’s included before you agree.
Will you set up remote access and show me how to use it?
App setup, playback walkthrough, and alert configuration should be part of the job — not an optional extra.
What do you cover if something goes wrong after installation?
Ask what’s covered if a camera fails, a cable comes loose, or the app stops working — and how long after installation they’ll come back.
Can you support the system after installation?
If a camera drops out six months later, you want to call the same person who installed it — not start over with someone new.
How Sipko answers these
Ask us any of these questions directly — here’s what to expect.
Experienced installers — CCTV installation across Melbourne homes and businesses.
Site assessment first — we don’t quote without seeing the property.
Named brands — camera make and model specified in every quote.
Cabling included — full itemised quote covering cable, conduit, and penetrations.
Full handover — app setup, playback walkthrough, and alerts configured before we leave.
Aftercare support — same contact for faults, adjustments, and future upgrades.
Ongoing support — same contact for adjustments, faults, and future upgrades.
External vs. Internal Cameras
External and internal cameras serve different purposes and have different hardware requirements. Most properties need both — the split depends on layout, risk points, and what each camera needs to capture.
External Cameras
Mounted outside to cover entry points, driveways, perimeter, and approach paths. Built to handle weather, temperature variation, and direct sunlight.
Internal Cameras
Mounted indoors to cover transaction areas, corridors, stock rooms, and common areas. Designed for controlled lighting and closer-range identification.
Typical placement by camera type — see best CCTV systems for Melbourne homes
External positions
Internal positions
What a CCTV Handover Should Include
A completed installation isn’t finished until handover is done properly. If you leave without knowing how to use the system, the install isn’t complete — regardless of how good the cameras are.
Every camera tested on-screen
Live view confirmed for each channel — angle, focus, and night vision checked before the installer leaves.
Recording confirmed active
Footage is actually being saved to the drive — not just showing live view. Retention period and overwrite behaviour confirmed.
Remote access working on your phone
App installed, recorder linked, live view loading on your device — tested on-site, not assumed to work later.
Playback and export demonstrated
You’re shown how to find footage by time, review a clip, and export it — so you’re not guessing when it matters.
Alerts configured and tested
Push notifications set up, sensitivity tuned per camera, and a test alert triggered so you know they’re working.
User accounts and passwords set
Default credentials changed, admin password documented, and any additional users added with correct permissions.
Time and date verified
Recorder clock confirmed accurate — incorrect timestamps make footage unreliable as evidence.
Questions answered before sign-off
Any questions about the system, settings, or future changes addressed before the installer leaves the property.
We also install Ajax security devices (hubs, sensors, sirens, and doorbells) — see Ajax installation options.


