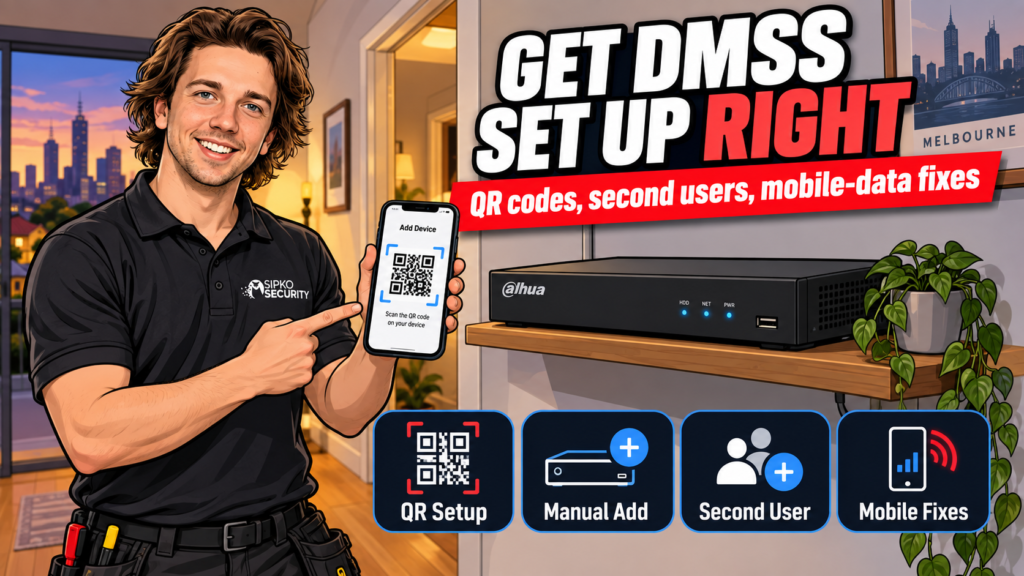
DMSS app setup takes about ten minutes if your NVR or DVR already has P2P switched on: download the app, scan the QR code on the recorder’s network screen, enter the admin password, and you’re viewing live footage. Where people get stuck is everything just outside those three steps: Local versus Account mode, why the QR sometimes isn’t there, and why it works at home but not on mobile data. We install Dahua systems every week, so this is written from what actually goes wrong, not just the happy path.
What is DMSS (and how is it different from gDMSS or iDMSS)?
DMSS is Dahua’s current mobile app for viewing your cameras, NVR or DVR remotely, playing back recordings, and getting alarm push notifications. If you’ve had a Dahua system for a few years you might remember gDMSS (Android) and iDMSS (iOS). Dahua has since folded both into one app called DMSS, available on both platforms. If your recorder’s manual or a YouTube video still says gDMSS or iDMSS, download DMSS instead; it’s the same thing, just newer, and it can import an old device list from either app.
You don’t need a Dahua Cloud account to view a single system on one phone. You only need an account once you want to share access with a second phone or manage several sites from one login (more on that below).
Before you start
Two things determine whether setup goes smoothly, and both are worth checking before you open the app:
- The recorder needs internet, and P2P needs to be on. On the NVR or DVR’s local monitor (or its web interface), go to Main Menu → Network → P2P and make sure it’s enabled. The status field should read Online. If it says Offline, the recorder isn’t reaching Dahua’s servers yet, and nothing in the app will fix that until it does. Dahua’s own P2P setup reference walks through the same screen if you want to see it laid out step by step.
- You need the recorder’s admin password, not a DMSS account password. It’s the same login you’d use on the recorder’s local screen: usually the “admin” username plus whatever password was set during installation. If we did your install, this is the password from your handover sheet.
With P2P online and the admin password in hand, you’re ready to add the device. There are two ways to do it: scan the QR code, or enter the details manually. Scanning is faster and skips typos, so try that first.
Adding your system by QR code
- Open the DMSS app and tap the + in the top-right corner of the Home screen (or Add Device if this is your first device).
- Select SN/Scan.
- On the recorder’s Network → P2P screen (from the step above), you’ll see a QR code next to the serial number. Point your phone’s camera at it and the app fills in the serial number automatically.
- Choose Local if you only want this device added on this one phone, or Account if you’re logged into a DMSS account and want it accessible from other phones later. If you’re not sure yet, Account is the safer default: it costs nothing and saves you re-adding the device later to share it.
- Pick the device type (NVR, DVR, camera), give it a name you’ll recognise, then enter the admin username and password from the step above.
- Tap Save. The system should appear on your Home screen and start showing live view within a few seconds.
If the scan won’t focus or the QR code is scratched, worn, or you’re setting this up from a photo rather than standing in front of the recorder, manual entry works exactly the same way.
Adding it manually
- Tap + → SN/Scan, then choose Manually Enter SN instead of scanning.
- Type in the serial number exactly as printed. It’s on the recorder’s P2P screen, on a sticker on the unit itself, or on the box. Leave the security code field blank unless your recorder specifically set one.
- Continue through Local/Account, device type, name, username and password exactly as in the QR steps above.
There’s a third method, IP/Domain, where you enter the recorder’s IP address directly instead of the serial number. This only works reliably when your phone is on the same network as the recorder (or you’ve set up port forwarding, which is a job for whoever manages your router, not something to attempt from the app). For remote viewing from anywhere, SN/Scan or manual SN entry with P2P is the one to use.
Adding a second user
The most common way people try to add a second phone is by logging into the same device details on both phones, and that works, but it means both phones have full admin access with no way to tell who did what. The cleaner method is device sharing (Dahua’s own walkthrough covers every screen if you want the full detail), which needs both people to have their own DMSS account (free to create in the app):
- On the phone that already has the system added, go to the Device tab, tap the three dots next to the device name, and select Device Sharing (or Share Device).
- Choose whether to share the whole device or just specific camera channels, and set what the other person can do: live view only, or live view plus playback and settings.
- Enter the other person’s DMSS account email (or scan their personal QR code, found under Me → QR icon, if they’re standing next to you).
- Confirm, and the device appears on their phone next time they refresh the Home screen.
This is worth doing properly for anything more than a one-person household: a shop with two managers, a rental with an owner and a property manager, or a family where more than one person needs eyes on the front door. One owner account, shared access, and you can revoke it later without changing any passwords.
Common failures and fixes
Most DMSS problems come down to one of these:
- Works on Wi-Fi, fails on mobile data. This is almost always because the device was added in Local mode rather than Account, or P2P shows Offline on the recorder. Local mode only really works reliably when your phone is on the same network as the recorder; remote viewing depends on P2P being properly online. Check Network → P2P on the recorder first: if it’s Offline, that’s the actual problem, not the phone.
- “Connection failed” only away from home. Some mobile carriers restrict the ports DMSS relies on. Confirm it works on a different Wi-Fi network away from home; if it does, and mobile data still fails, the carrier is the more likely cause than the recorder.
- QR code missing or won’t scan. Use manual SN entry (see above). A cracked NVR screen or a badly lit room causes more failed scans than actual QR damage.
- Device shows Online but video won’t load, or drops out. This is usually a stream or bandwidth issue rather than a setup problem. We’ve covered it separately in our guide to fixing DMSS when it won’t show video.
If none of that resolves it, the recorder itself may need a look. That’s a five-minute check for us, and often a much longer one to diagnose blind over the phone.
FAQ
Do I need a DMSS account to view my own cameras?
No — a single system on one phone can be added in Local mode without any account. You only need a DMSS account to share the device with a second phone or to pull multiple sites into one login.
Is DMSS the same as gDMSS or iDMSS?
Yes, effectively. DMSS replaced both gDMSS (Android) and iDMSS (iOS) as one combined app. If you still have the old app installed, it can import your existing device list into DMSS.
Why does it work at home but not on my mobile data?
Almost always because the device was added in Local mode, or P2P isn’t enabled and online on the recorder. Both are covered above.
Can I add the same system to two phones?
Yes, either by entering the same login on both (simplest, but both get full access) or by setting up proper device sharing from a DMSS account (recommended if the two users shouldn’t have identical access).
What’s the difference between adding by QR and by IP/Domain?
QR (and manual SN) use P2P and work from anywhere with an internet connection. IP/Domain only works when your phone is on the same network as the recorder, unless someone has set up port forwarding.
Getting the app talking to the recorder is the last five minutes of any install we do. By the time we leave, it’s usually already on your phone and working. If you’re setting this up on an existing Dahua system and you also need the recorder, users, DMSS ownership, recording and network settings reviewed, see our Dahua CCTV takeover and reconfiguration service in Melbourne.

